Showing posts with label DIY. Show all posts

Monday, May 28, 2012

DIY Project

I don't know what it is about a holiday weekend that inspires me to do projects around the home, but it always does.  I thought about doing the kitchen back splash this weekend, but then my car's radiator sprang a leak and had to go to the shop.  I knew the back splash would probably be a multi-Home Depot-trip project, so I put it off in favor of this quick and easy one.

Before and After
All you need is a lamp or two that don't quite match your style, some painters tape, a drop cloth and one can of spray paint (Rustoleum Textured Metallic silver).  I covered the electrical part on top with aluminum foil and stuffed the cord in a ziploc bag, then taped the little bit that was sticking out.  Once I got the lamps all prepped and dusted, it only took about 10 minutes to do this, which is good, since it was hot as all get out today.

I am going to change the harps from gold to silver and I need to get new shades for them, otherwise I'd show you a picture of them back in the bedroom.  The old shades are not the bright white I want, but I think the bases came out great. 

Saturday, September 3, 2011

Home Improvement

What is it about a holiday weekend that makes me want to tackle home improvement projects? And why does every home improvement project require a minimum of three trips to the Home Depot?

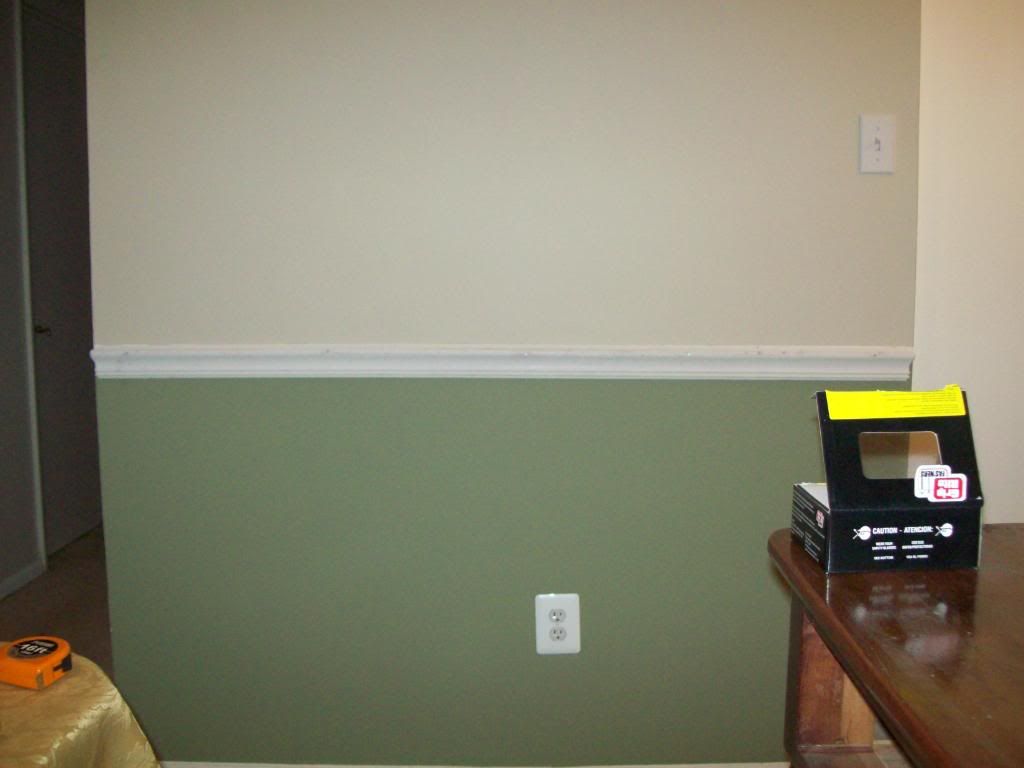
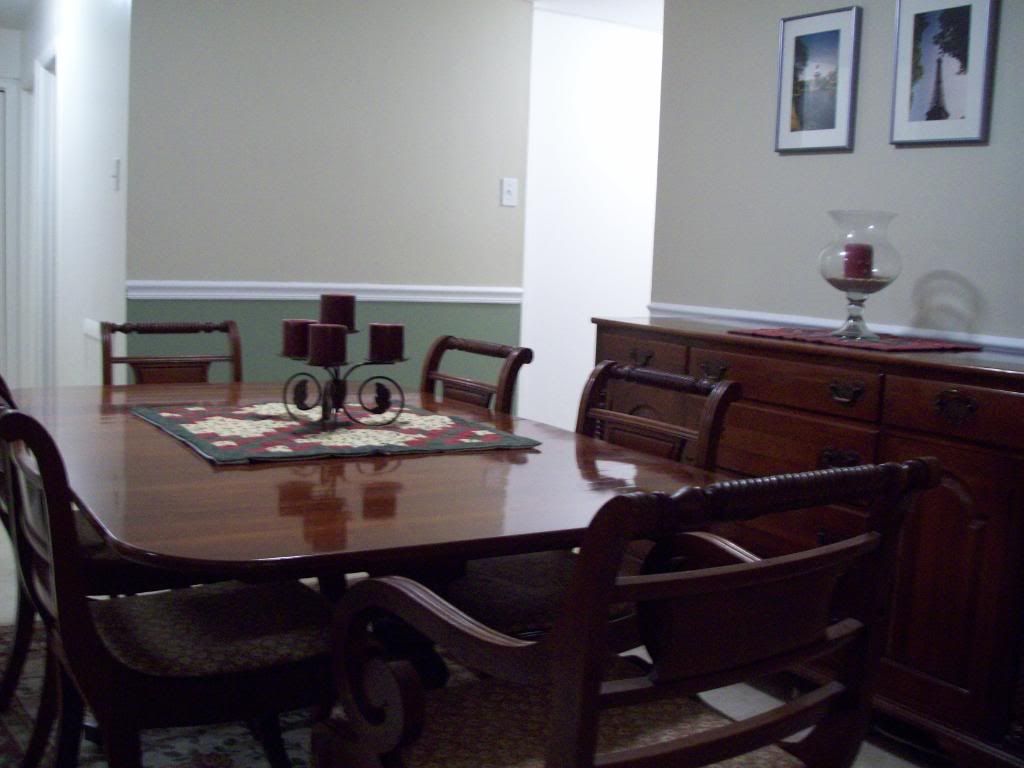
This weekend I decided that we (isn't it nice how I committed Jim to help me) would finally do the chair rail in the dining room. This is a project that would have been sooooo much easier with power tools, but you work with what you've got. In our case, a miter box. It's a good thing I had Jim's help because I never would have gotten these cut by myself.

First piece is up!


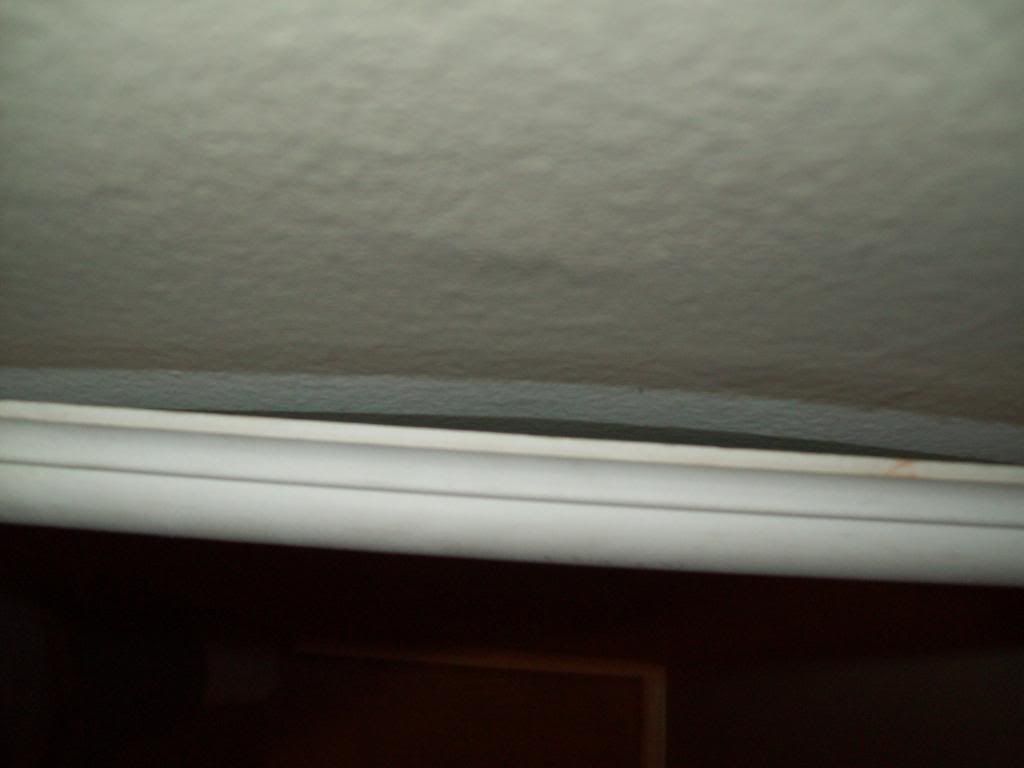
The walls in this condo are all bowed to some degree. Most of the time, it was fine and some nails in addition to the construction adhesive would do the trick. This is the worst of all and we ended up shimming the crap out of it. It's probably not the best fix, but I think it looks ok.


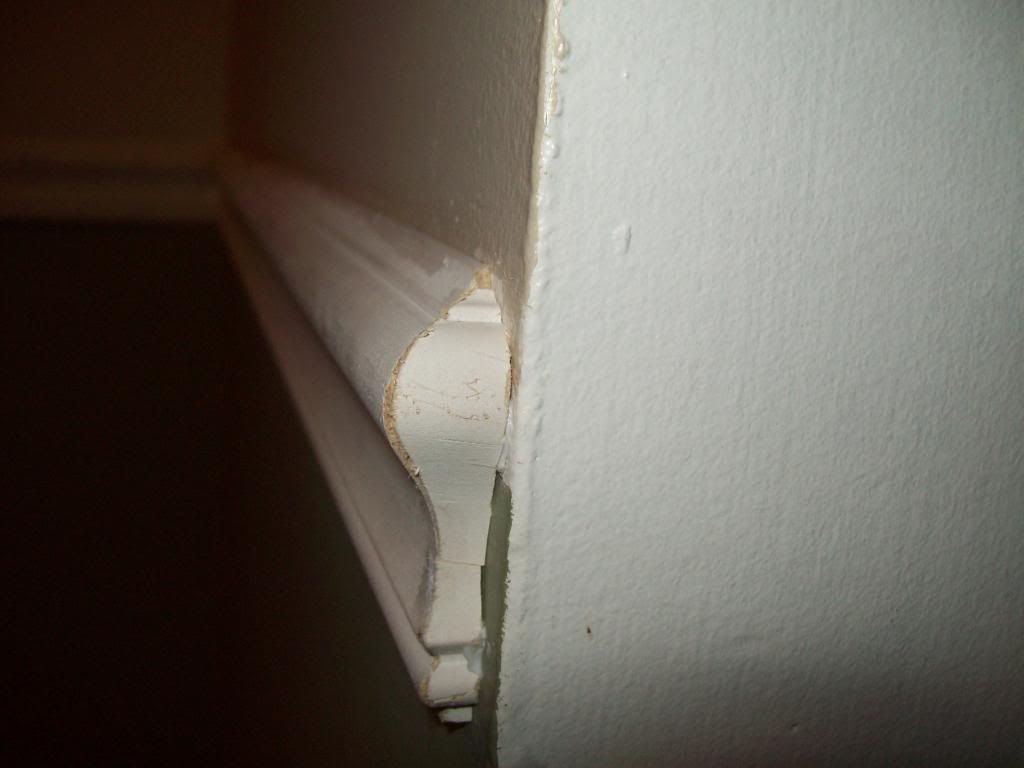
These little pieces to finish the exposed ends were a total pain in the butt.


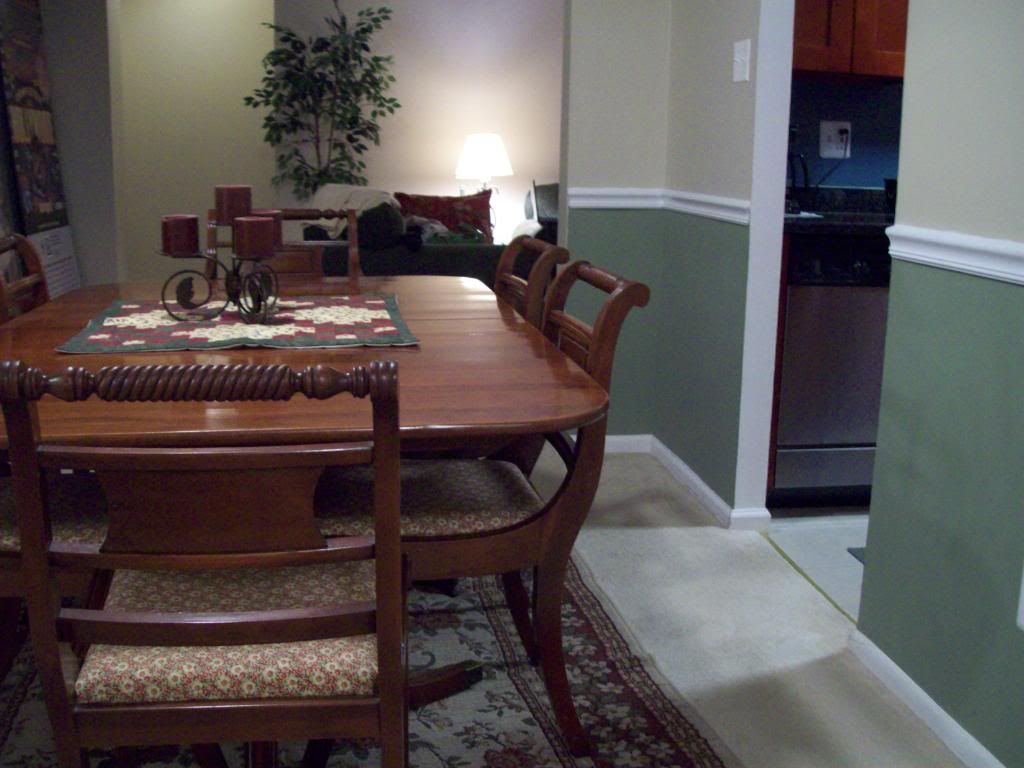
All finished!


Lessons learned:

1. Get power tools.

2. The walls in this condo are ridiculously curved. Stupid old building.

3. Coping a chair rail is not as easy as it looks on You-Tube.

Thursday, June 23, 2011

Sampler Scarf

I am learning to knit. I have tried to learn several times in the past, but I think I finally have the hang of it now. It took some of the ladies at church actually showing me what to do before I figured it out. I am spatially challenged and trying to figure it out from just pictures wasn't going to cut it.

This is my third project, a scarf for Jim. My first two were a hat and a neck warmer, but the were just one stitch (garter stitch). This is the first thing I've done with a pattern. I managed to switch sides a couple of times in the pattern, but overall I'm pleased with how it turned out.

Now I'm ready to start working on Christmas presents!

Monday, February 21, 2011

Three Day Weekend

I love me a three day weekend - it gives me a chance to do "projects." Today I was bound and determined to tackle the dining room chairs. I bought the material to recover the chairs on the last three day weekend, so it was time.

Altogether, it took me about 2 hours to do all six chairs, so this is definitely an easy project for an afternoon.

Here are the tools you'll need: Scissors, a screwdriver, a hammer, a heavy-duty stapler and staples. For the material, I got two yards of decorator fabric off the remnant table at the fabric store for $4.97/yd. I had more than enough to do six chairs. The amount you will need depends on the number and size of your chairs.
Turn the chair over and unscrew the seat from the frame. Say hi to Rex; he was helping.

Center the seat on your fabric and put one staple in one side. Pull the fabric tight to the opposite side and staple. Then you can add more staples to each side. I used about four or five staple to each side. Once you have done two opposite sides, then repeat with the other two sides. The only tricky bit is the corners and you just have to fiddle with it a little bit. This is what it looks like when it's done.Then you just have to screw the seat back on the frame and you are all done! Here is a before and after picture of the chairs.